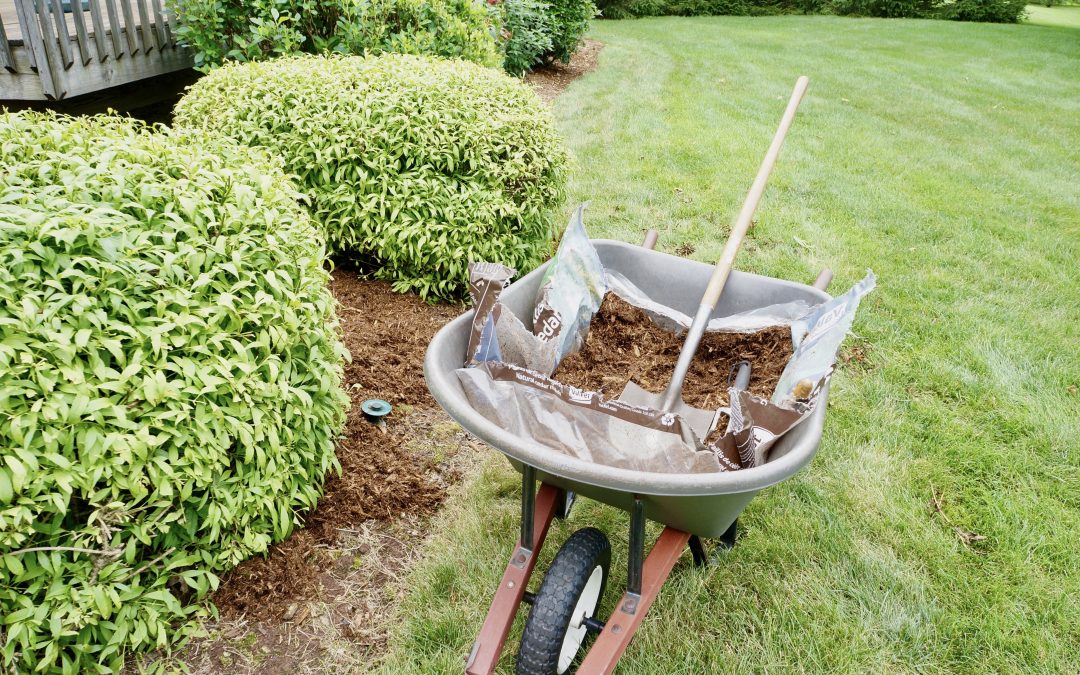
Mulching around your landscape is one of the easiest ways to keep it healthy and upgrade curb appeal. Adding various mulch types to your garden is a great way to limit pests and weeds, retain moisture, and regulate the temperature within your soil. If you’re ready to take this next step in landscaping, it’s essential to understand the step-by-step process to do it properly.
Remove Old Mulch
The first step in the mulch process is to remove any pre-existing mulch on your landscape, regardless of whether you put it there or the previous homeowner did. You must remove old mulch that has started breaking down and may be contaminated with things like mildew. That clears the way for the new mulch and makes the garden boundaries much clearer.
Pulling Up Pesky Weeds
If you notice any weeds in your landscape beds (or anywhere on your lawn) where you would like to apply mulch, you should fully remove them; this ensures a clean slate for your garden from the beginning. If you don’t fully remove weeds, you risk more of them popping up over time, and the mulch may not be as effective as you’d like.
Loosen Your Soil
When adding mulch to your landscape, one of the most critical steps before laying it down is loosening the soil to create a better environment for the plants you want to continue growing. Using a basic rake or cultivator to loosen the soil is the easiest way to accomplish this, and it prepares it for the next step in the mulch process.
Adding Fertilizer, If You Wish
There is a lot of back-and-forth about whether utilizing fertilizer in your landscape is better for your plants in the long run. However, there are undeniable benefits to incorporating fertilizer in your lawn, including enriching the soil and making the plants growing in it much stronger! Before applying the next layer of mulch, consider incorporating a long-term organic fertilizer into your soil to give your plants the best chance for survival.
Spread New Mulch
Once everything above is done, you’re finally ready to spread the new mulch on your landscape; put mulch around your plants, but keep it at a sufficient distance from where the plant base meets the soil to avoid smothering the plant. It’s also important to note that the mulch should be no more than 2 to 3 inches thick; too little will not achieve the desired effect, while too much will weigh down the soil and plants.
Water You New Mulch
Once you’ve laid down the correct amount of mulch in your landscape beds, the next step is to water it thoroughly to help it settle in more effectively. This step is essential as it introduces extra moisture to the soil, and the mulch you’ve just applied helps retain that moisture to keep your plants growing!
Monitoring The Plants
Once the mulch settles, you must monitor the plant life you’ve put the mulch around to ensure they are still growing howthey should. One of the key factors of these occasional checks is checking the moisture level around your plants; if the moisture seems imbalanced, you should consider adjusting the mulch in this area.
How Often Mulching Should Happen
You must renew mulch every so often as it begins to break down and lose its strength. You can usually get away with renewing your mulch every couple of years (or sometimes yearly), but if you let it go too long, your plants could pay the price!
Accepting Help With Mulching From The Pros
Not everyone has the time to complete the mulching process step-by-step. It takes time, and, believe it or not, you can mulch incorrectly! That’s where the professionals at CityWide Landscaping come into play; we are always here, ready to help with any landscape needs!